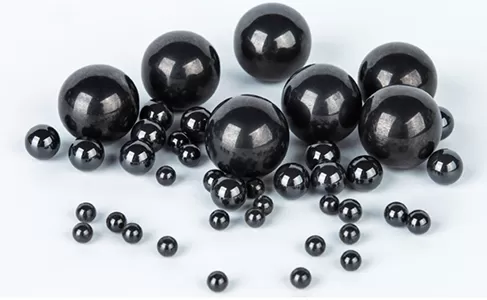
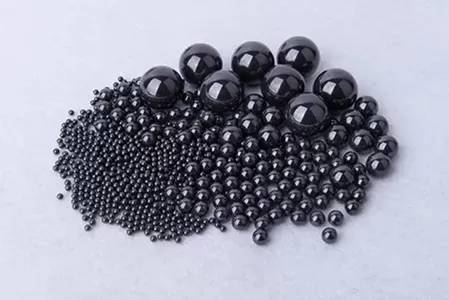
The precision of ceramic balls varies based on material, manufacturing processes, and application requirements, typically ranging from micrometers to sub - micrometers. Factors like grinding techniques, sintering control, and quality inspection directly influence their dimensional accuracy and roundness. High - precision ceramic balls are essential in applications where minimal tolerance and consistent performance are critical.

Alumina ceramic balls, widely used in general industrial settings, can achieve a precision of 1 to 5 micrometers in diameter tolerance and 0.5 to 2 micrometers in roundness. This level of precision suffices for applications such as grinding media in ball mills and packing in chemical columns, where strict dimensional uniformity is not the primary concern. Their relatively lower production cost makes them a cost - effective choice for such uses.
Zirconia ceramic balls, known for their toughness, offer higher precision, often reaching diameter tolerances of 0.5 to 2 micrometers and roundness within 0.3 to 1 micrometer. This makes them suitable for medical devices and precision bearings, where smooth operation and minimal wear are required. Their ability to maintain precision under dynamic loads adds to their appeal in these high - demand fields.

Silicon nitride ceramic balls, designed for extreme environments, boast exceptional precision with diameter tolerances as low as 0.1 to 1 micrometer and roundness as tight as 0.1 to 0.5 micrometer. These high - precision attributes make them ideal for aerospace and automotive bearings, where even the smallest deviation can affect performance and safety. Their thermal stability ensures that precision is maintained under high - temperature conditions.
The manufacturing process plays a key role in achieving such precision. Advanced grinding methods, such as centerless grinding and lapping, are employed to refine the surface and shape of ceramic balls. Lapping, in particular, uses abrasive slurries to achieve sub - micrometer precision by gradually removing tiny amounts of material, ensuring uniform roundness and smoothness.
Sintering control is another critical factor. Consistent temperature and pressure during sintering prevent uneven shrinkage, which can compromise dimensional accuracy. Post - sintering processes like heat treatment also help stabilize the material structure, reducing the risk of deformation and maintaining precision over time.
Quality inspection using high - resolution measuring instruments, such as laser interferometers and roundness testers, ensures that each ceramic ball meets the required precision standards. These tools can detect deviations as small as 0.01 micrometers, guaranteeing that only balls with strict tolerance are used in high - precision applications.
In summary, the precision of ceramic balls spans a wide range, with high - end products achieving sub - micrometer levels. The choice of precision depends on the specific application, balancing performance needs with production costs. Advances in manufacturing technology continue to push the boundaries of ceramic ball precision, enabling their use in increasingly demanding fields.


