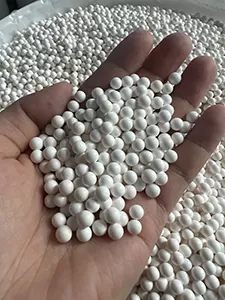
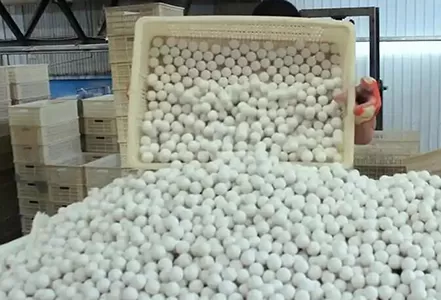
Inspecting the quality of ceramic balls involves evaluating key parameters such as dimensional accuracy, hardness, surface roughness, and structural integrity, using specialized tools and standardized methods to ensure they meet application requirements. This multi - step process is essential for verifying performance reliability in industries ranging from aerospace to medical devices.

Dimensional accuracy is a primary inspection item, assessed using tools like micrometers, calipers, and roundness testers. Diameter tolerance, typically required to be within ±0.001 mm to ±0.01 mm for high - precision balls, is measured at multiple points to ensure uniformity. Roundness, quantified as the deviation from a perfect circle, is checked using laser scanning or optical comparators, with acceptable values often below 0.005 mm for critical applications like bearings. Any out - of - tolerance dimensions can indicate issues in shaping or sintering processes.
Hardness testing is crucial for evaluating wear resistance, performed using Vickers or Mohs hardness scales. Vickers hardness testers apply a diamond indenter under controlled load to measure the indentation size, with values ranging from 1200 HV for zirconia to over 3000 HV for silicon carbide. Mohs hardness, a qualitative scale, is useful for quick comparisons, with silicon carbide scoring 9.5, second only to diamond. Low hardness values may signal improper sintering or impure raw materials.

Surface roughness inspection relies on profilometers and atomic force microscopes (AFMs) to measure parameters like Ra (arithmetic mean deviation). For bearing - grade ceramic balls, Ra values must often be below 0.05 μm, verified by scanning the surface to detect irregularities. Excessive roughness can increase friction and wear, making this test vital for high - speed or precision applications.
Structural integrity checks identify internal or surface defects such as cracks, pores, or inclusions. Ultrasonic testing uses high - frequency sound waves to penetrate the ceramic ball, with reflections indicating hidden flaws. Visual inspection, aided by magnifying lenses or digital microscopes, detects surface cracks or chips. For critical components, X - ray or CT scanning may be used to reveal internal voids, ensuring the ball can withstand mechanical stress without failure.
Chemical composition analysis ensures the ceramic material meets purity standards. Techniques like X - ray fluorescence (XRF) or energy - dispersive X - ray spectroscopy (EDS) identify elemental composition, verifying that alumina balls contain at least 95% Al₂O₃ or that zirconia balls have the correct proportion of stabilizers like yttria. Impurities above acceptable levels can compromise mechanical properties, making this test essential for material certification.
Performance - related tests, such as wear resistance trials and thermal shock resistance assessments, simulate real - world conditions. Wear tests, using ball - on - disk machines, measure weight loss after controlled friction, while thermal shock tests involve rapid temperature cycling to check for cracking. These tests validate that the ceramic balls perform as expected in their intended environment.
In summary, ceramic ball quality inspection is a comprehensive process covering dimensions, hardness, surface texture, structure, and composition. By using precise tools and standardized methods, manufacturers and users can ensure these components meet strict performance criteria, guaranteeing reliability in diverse industrial applications.


